Quick Setup Guide – TMDsuite Retail Billing Software.
Quick Setup Guide – TMDsuite Retail Billing Software.
Step 0: Buy a Plan & Register
Go to: https://www.tmdsuite.com/pricing
➤ Choose the right plan (Beginner, Small Business, Medium, or Large)
➤ Click Buy Now
Register here: https://www.tmdsuite.com/register
➤ Fill in your store name, email, and mobile number
➤ On successful registration, your unique store URL will be created
Step 1: Log in to Your Store
Open your store dashboard using the URL shown after registration success
Example: https://yourstore.tmdsuite.com/frontdesk/
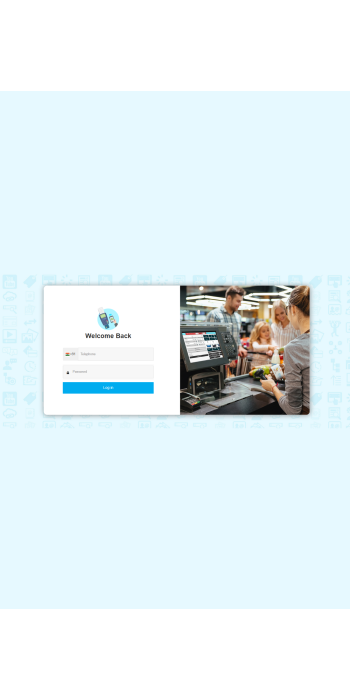
Enter your Admin Username and Password
Click Login
Step 2: Set Up Store Profile
Go to the Left bar: Settings → Profile Settings
Configure:
Store Name, Owner, Address, Email, Phone
GST No. GST Type, Currency, Language, Timezone
Store Bank Account, Invoice Prefix, and Region
Add Store Logo, Signature, and Icon
Step 3: Add Categories & Products
Create product categories: Catalog → Category
Add individual products: Catalog → Product
Or bulk import with .CSV/.XLS: Product → Bulk Import
Step 4: Add Customer Groups & Customers
Create customer groups (Retail, Wholesale, etc.):
Crm → Customer Group
Add customers manually with name, mobile, and address
Step 5: Set Up Bank Accounts
Accounts → Bank Accounts
Add your bank account(s) to manage store payments and cash tracking
Step 6: Configure POS Settings
Navigate to: Settings → Pos Settings to customize:
Customer Form and Default Group
Invoice Layout and PayNow Button
Return Reasons, Payment Methods
Shipping Charges, Display Options
Non-Catalog Product Handling
Step 7: Configure Tax & GST
Go to: Settings → Profile Settings
Choose GST Type (Include, Exclude)
Step 8: Install TMDsuite Mobile Apps
TMDsuite Business App (for store owners):
Use this app to:
Manage billing, stock, orders, returns, and reports
View sales in real-time
Create and process orders
TMDsuite Shopper App (for your customers)
Let your customers:
Scan your store QR code
View your product catalog directly in the app
Place orders remotely from anywhere
This helps your store go digital and accept remote orders easily — great for home delivery, pre-ordering, or customer convenience.
Download From Playstore
You can find and print your store QR codes under:
Settings → Tmdshopper Setting
Step 9: Set Up Purchase Order
Add suppliers: PO → Suppliers
Create Purchase Orders and Supplier Bills
Track stock received, payments, and dues
Step 10: Start Billing and Selling
Go to: POS → Open POS
Add or scan a product
Select customer
Apply discounts or rewards
Print invoice and collect payment (Cash/UPI/Card)
Tags
- quick-setup-guide

 Signin
